


This guide explains how to create a waste record in Waste Tracker.
Before you create a waste record you need to have arranged transport and receipt of waste out of the system.
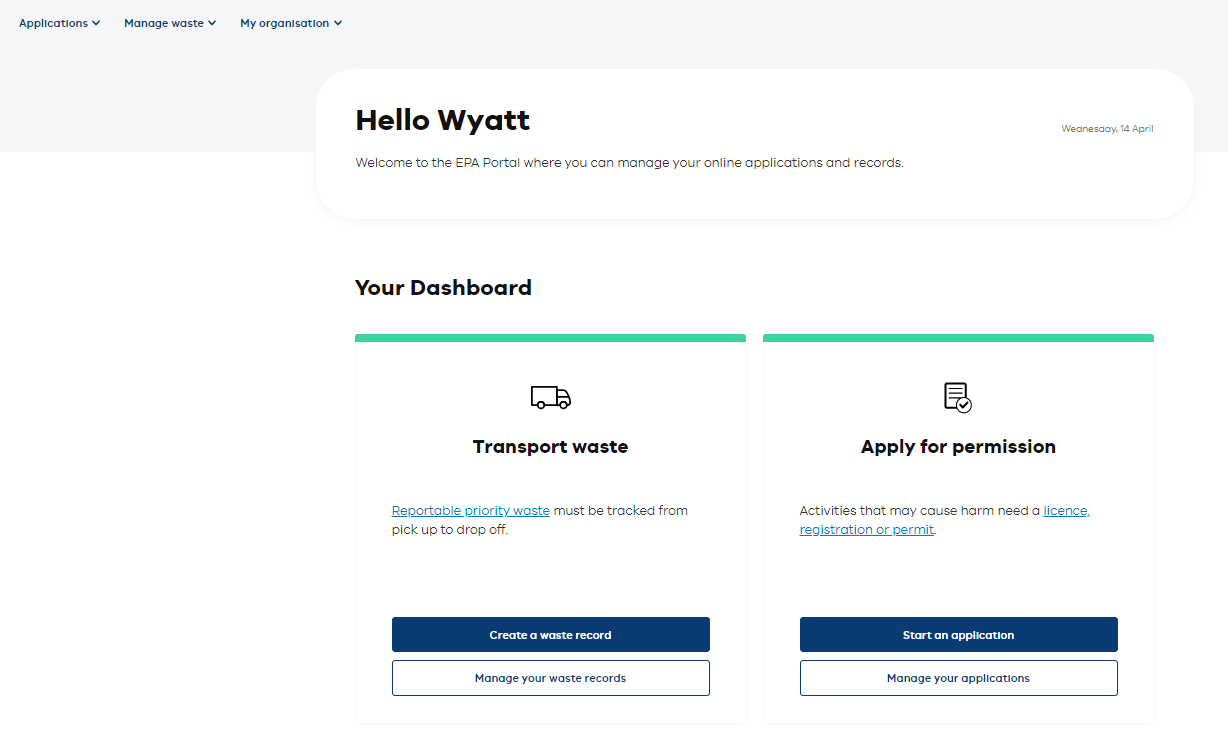
Step one: Log in
Log in to the EPA portal.
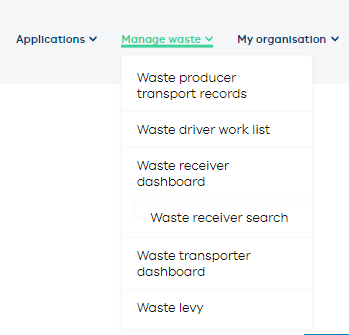
Step two: Open the Manage waste menu
In the 'manage waste' menu, choose the 'waste producer transport records' dashboard.
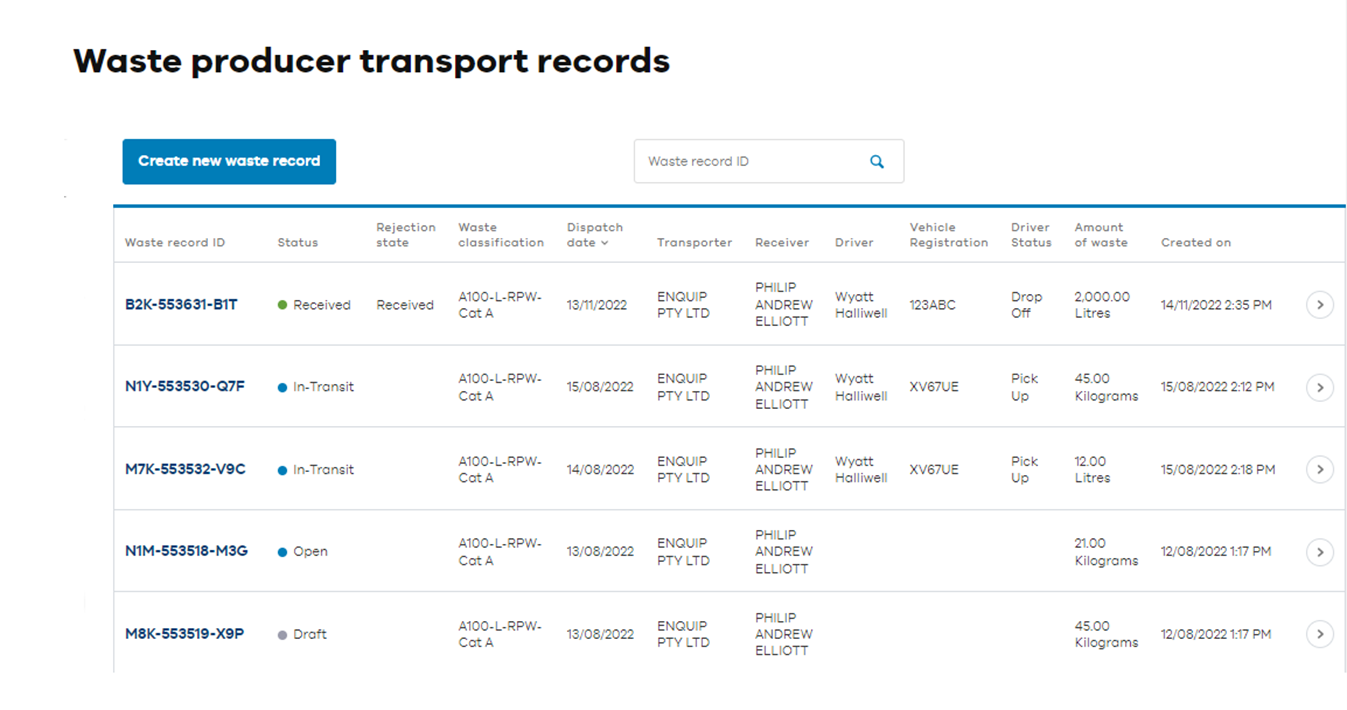
Step three: Waste producer transport dashboard
In the 'waste producer transport' dashboard click 'create new waste record'.
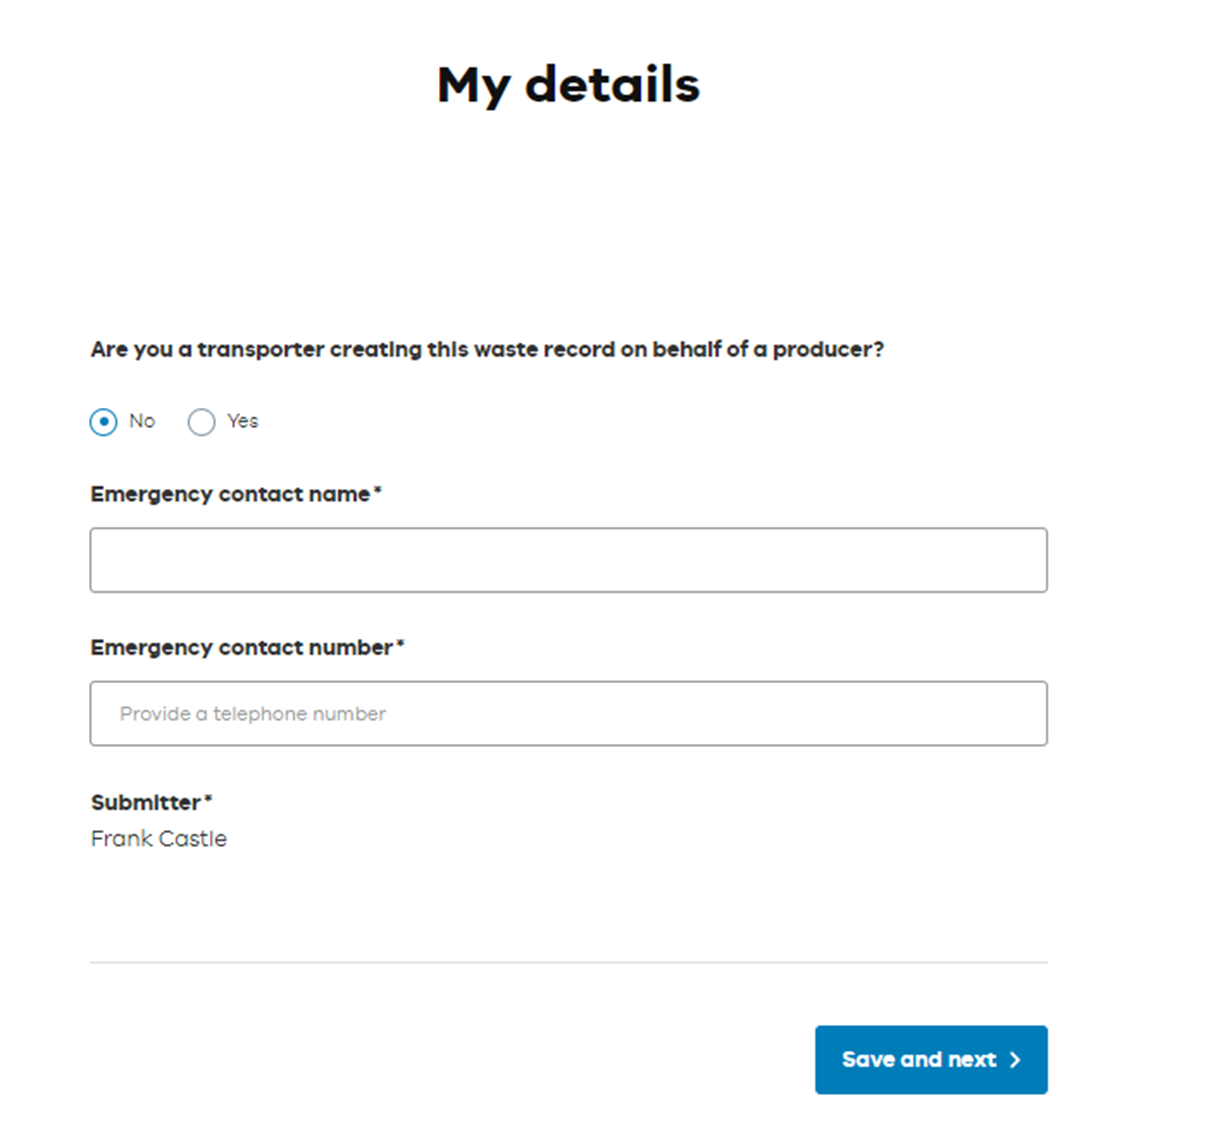
Step four: Create new waste record
Enter the mandatory information into the 'my details' form.
Note that the submitter field is auto-populated.
Click 'save and next'.
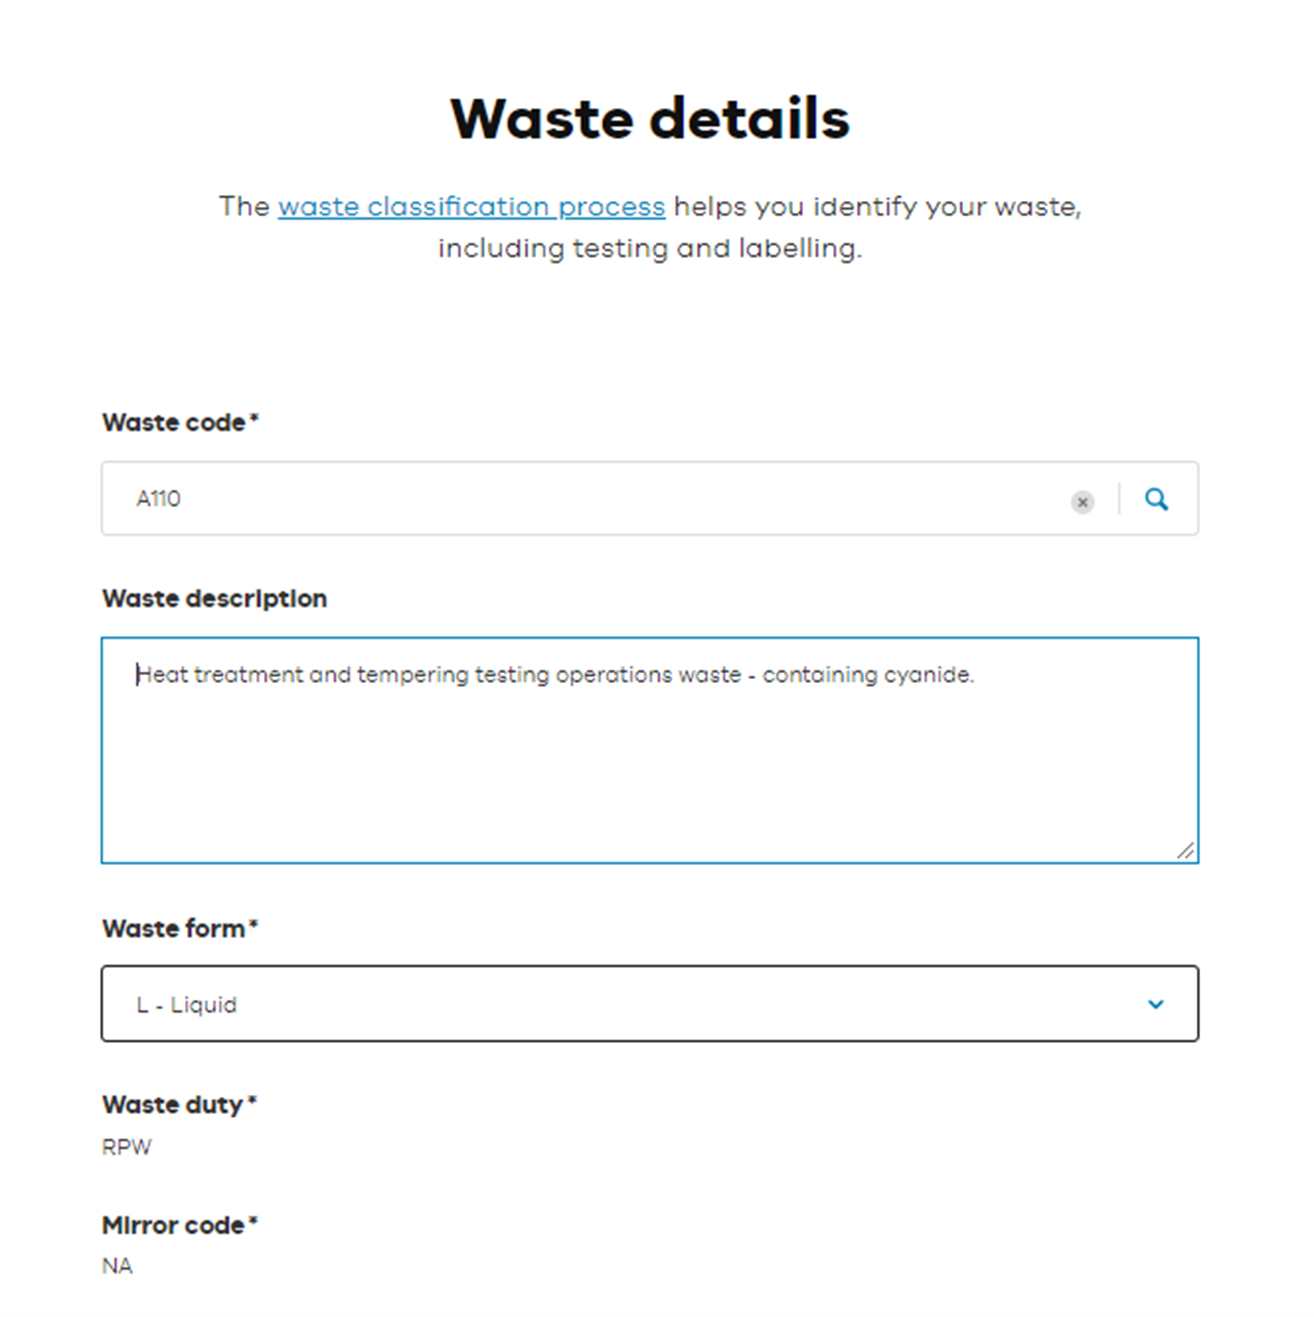
Step five: Complete Waste details
In the 'waste detail' screen, enter all details. Fields marked with an asterisk (*) are mandatory.
Select the waste code from the look up. The waste description field auto-populates but can be edited. You should give the most accurate description of the waste possible.
Read the Waste classification process if you need help to identify the waste code.
Note that the 'waste form' field is auto-populated but can be edited. Choose the appropriate form (liquid, solid, sludge, mixture).
Waste duty and Mirror code fields are auto-populated and can’t be edited.
Step six: Complete Intended treatment and package type details
Click the drop-down arrow next to Intended treatment option and select the appropriate waste treatment option.
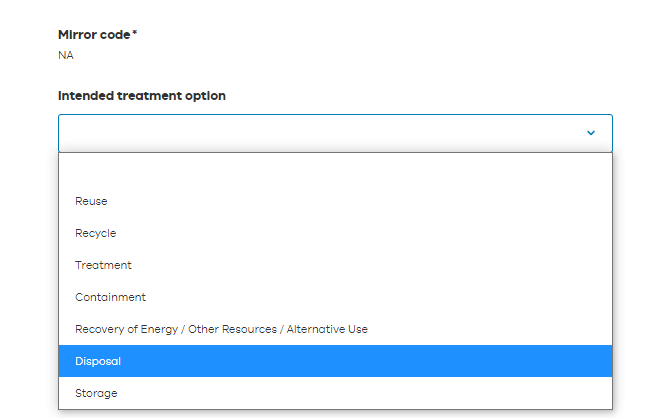
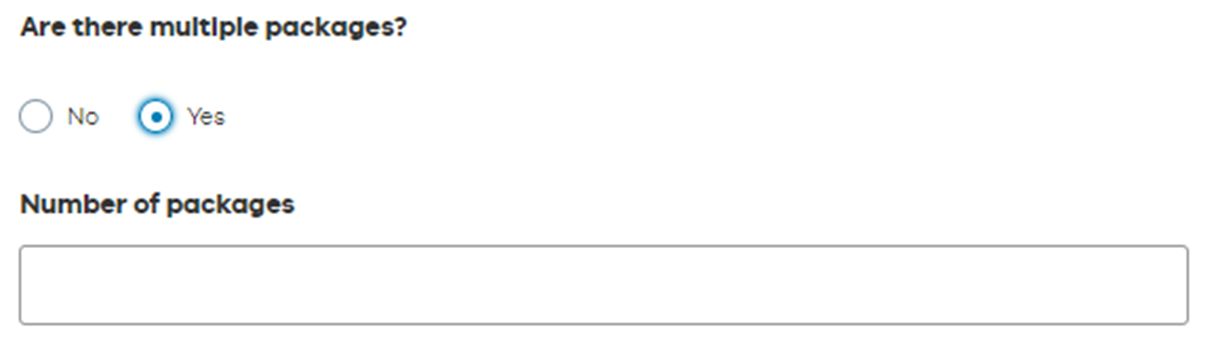
If the waste is in packages, select 'yes' and enter the number of packages when prompted.
Step seven: Complete dangerous goods details
Select 'yes' or 'no' in the dangerous goods field.
If yes, use fields shown to add information about the dangerous goods you’re reporting.
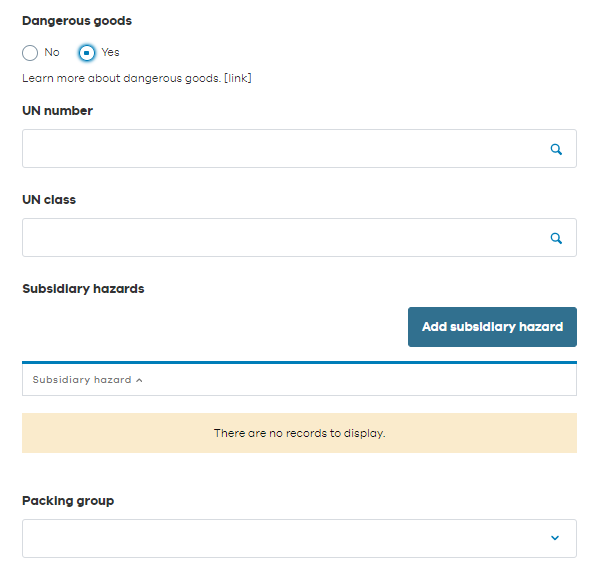
Information about UN numbers, classes and packing groups and subsidiary hazards can be found in the Australian Dangerous Goods Code on the National Transport Commission website.
Click 'add subsidiary hazards' and select the relevant additional subsidiary hazards. You can choose more than one.
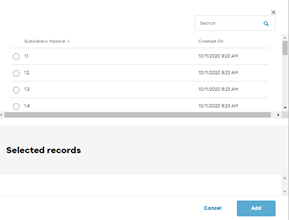
Click 'add' to complete.
Step eight: Select waste origin
Use the search icon to select the origin of the waste (ANZSIC CODE) from the list. Information about ANZSIC codes can be found on ATO website or the ABS website.
Search for an industry using the field in the top right of the list.
Click 'select'.
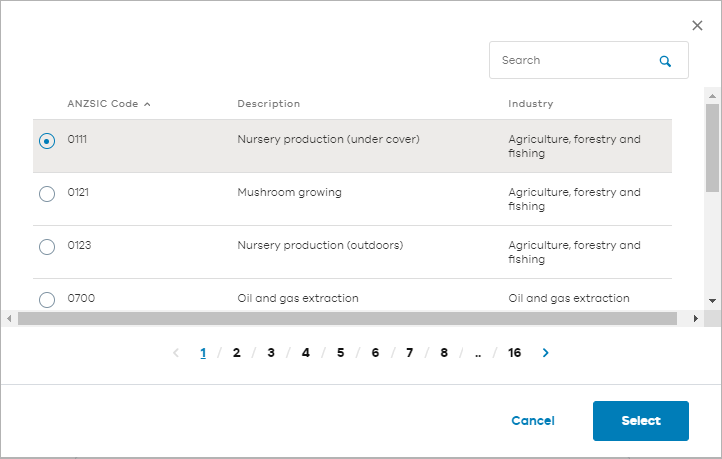
Tip: You can use asterisk to search for a partial name or phrase. For example, *nur will search for Nursery production (under cover) and Nursery production (outdoors).
Step nine: Enter amount of waste
Enter the estimated amount of waste.
Use the drop-down arrow to choose the unit of waste.
Note that the driver and receiver also enter the amount of waste when they collect and receive the waste. It’s OK if a driver and receiver enter the amount of waste using different units of measurement.
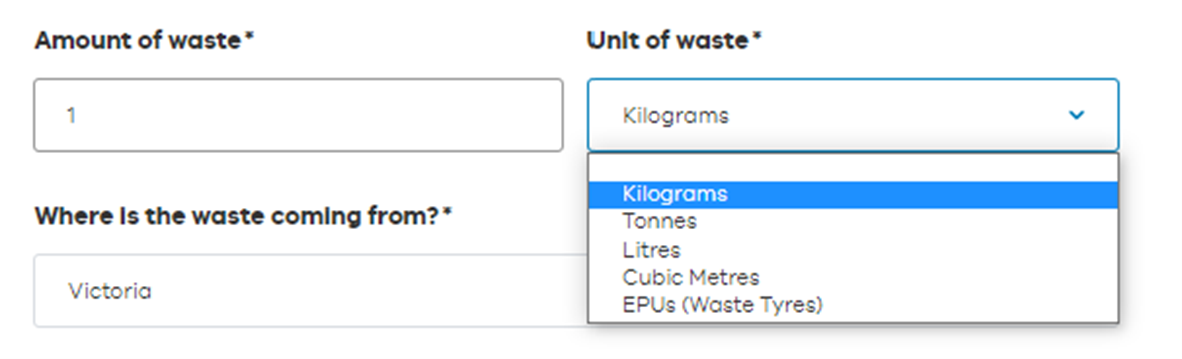
EPU stands for Equivalent Passenger units. It is a unit of measurement that converts tyres into standard passenger car tyres.
Step 10: Enter the waste origin
Click the drop-down arrow under 'where is the waste coming from?'.
Choose the appropriate location from the list.

If the waste has come from a controlled (interstate) source, enter the consignment authorisation number.
If the waste has come from an international source, enter the basel permit number.
Step 11: Add dispatch date
Click on the calendar icon under 'dispatch date' and choose a proposed dispatch date.
The proposed dispatch date must be today or later.
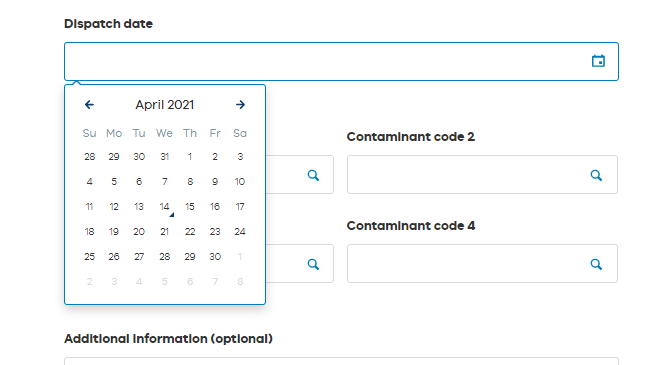
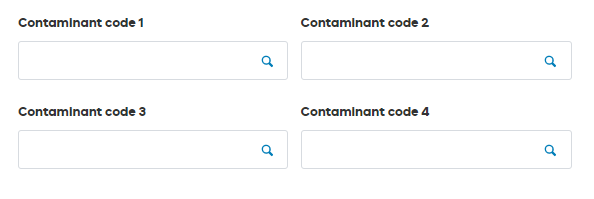
Step 12: Enter contaminant codes
If applicable, enter up to four contaminant codes.
Step 13: Additional information
Include any other information you would like in the 'additional information' field. This is optional.
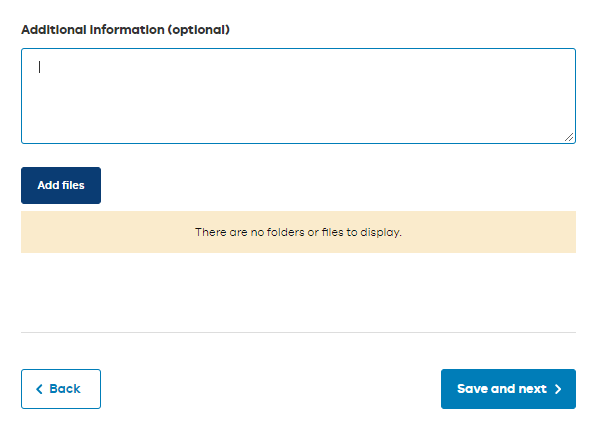
Click 'add files' if you want to upload supporting documents and follow the prompts.
Click 'save and next'.
Step 14: Pickup address
Enter the pickup address in the search field or click on the map.
Include any additional information about the pick-up address if required.
Check information and click 'save and next'.

Step 15: Transporter and receiver details
For Victorian transporters, select the preferred transporter from the alphabetical look-up option.
Tip: The search bar will search by name and ABN. You can use a wildcard * to search for a partial name or ABN.
![]()
For Victorian receivers, select your preferred receiver from the alphabetic look-up option.
Then select the preferred site from the permission site list. This list will only show sites able to accept the selected waste classification.
![]()
Tip: Both lists are searchable. You can use a wildcard * to search for partial names or addresses.
If the transporter or the receiver don’t hold an EPA Victoria permission, add their details into the free text fields in the relevant areas.
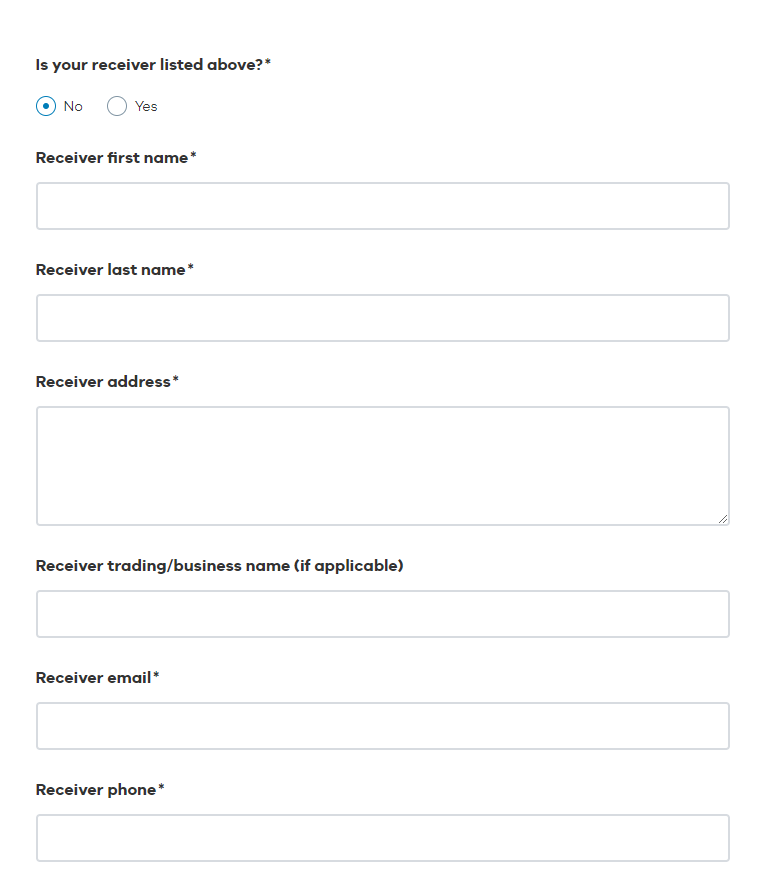
Click 'save and next' when complete.
Tip: Transporters and receivers who have the correct permission in the EPA system to transport and treat the selected waste type will appear in the look-up list.
Step 16: Review and confirm details
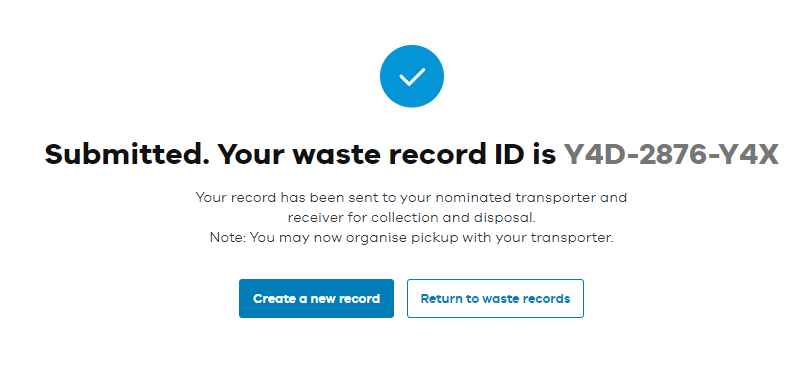
On the review screen, check all the information you entered and click 'create record' to create the waste record.
A confirmation screen will appear showing the new waste record ID.
Read more
Reviewed 10 February 2023
