

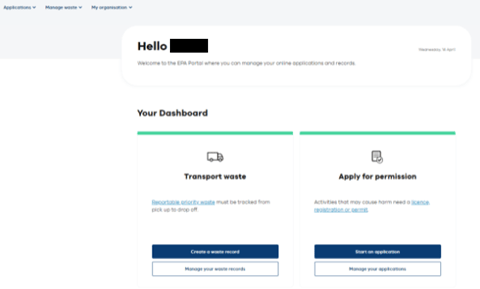
Step one: Log in
Log in to the EPA portal.
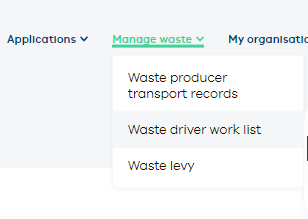
Step two: Open the Manage waste menu
In the Manage waste menu, choose Waste driver worklist.
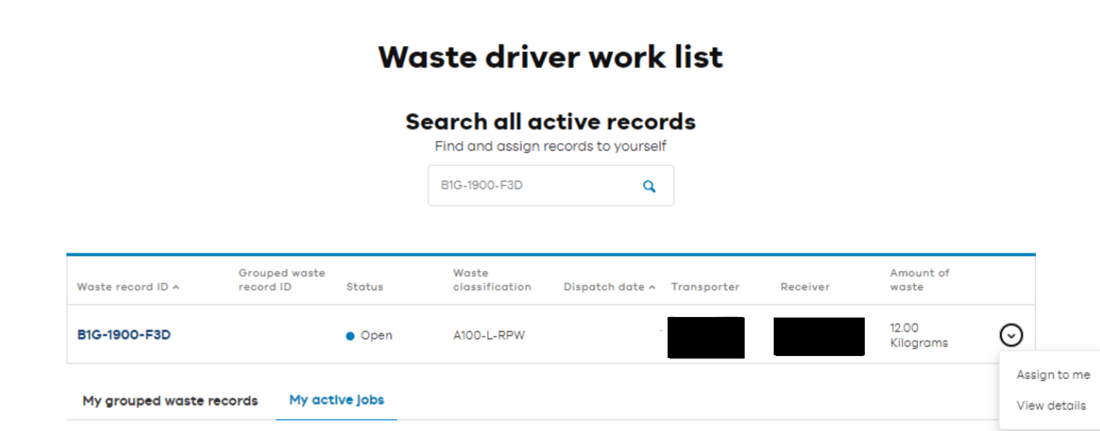
Step three: Waste driver work list
To find the waste record enter the waste record number in the search bar and click the magnifying glass. A producer or transporter can provide a Waste Record ID to the driver.

Step four: Select record
When you find the correct record ID, click the arrow on the right of the record. Select ‘Assign to me’.
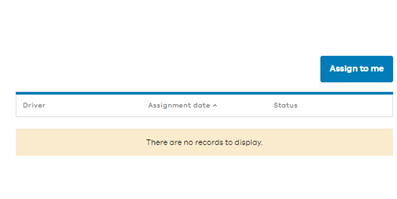
Step five: Select Assign to me
A new screen will come up and again, select ‘Assign to me’.
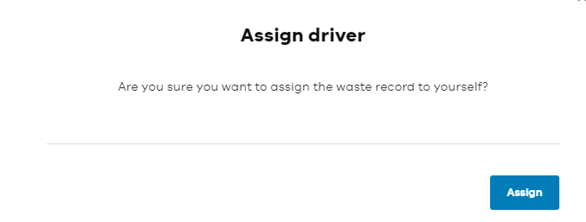
Step Six: Confirmation
A confirmation screen will appear to assign the waste record to yourself. Select ‘Assign’.
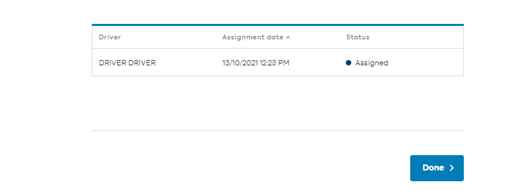
Step Seven: Review and complete
Review the information and click Done.
The waste record will also show as assigned in the Waste transporter dashboard.
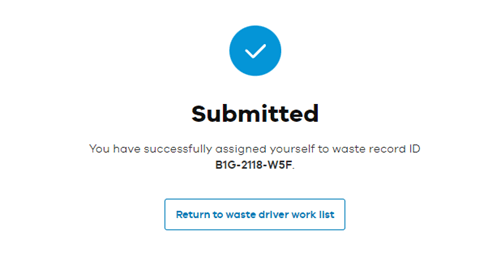
The waste record will now appear under ‘My active jobs’ under Waste Driver Work list on Waste Driver dashboard.

Once the record is assigned, it must be ‘picked-up’ as the waste is collected, and ‘dropped off’ as the waste is deposited. Picking up the waste record is when the information in required Part B is entered.
For instructions on how to use these functions, see the links below
Read more
Updated